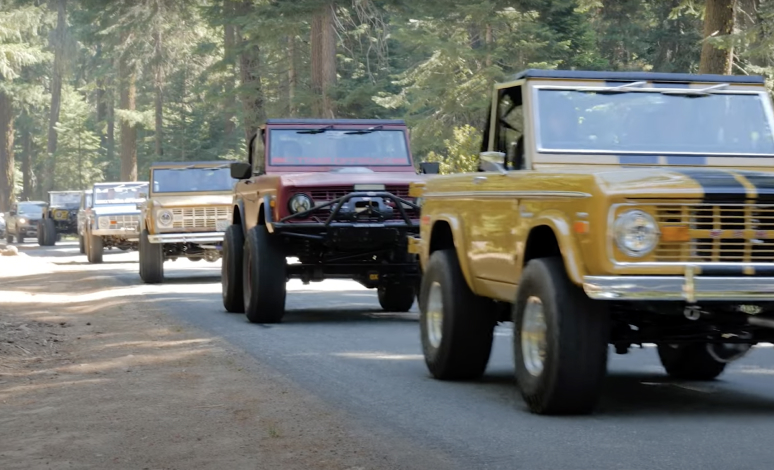
Hydraulic Hood Props for Early Ford Bronco
Warning: If the rear-most crossbrace in your hood has been cut to install a hood scoop or other modification, we DO NOT recommend installing these hood props. Also, please check to ensure that your hood is free from cracks, creases or excessive bondo as this can weaken the hood and cause the hood to become damaged when using hydraulic hood props. Pay particular attention to the side edges of the hood. Existing stress cracks in the side edges of the hood can weaken the hood greatly.
What you will need to install the Hydraulic Hood Props on your Steel Hood
Tools Needed
- Drill
- 1/8” Drill Bit
- 5/16” Drill Bit
- Awl
- Center Punch & Hammer
- Masking Tape
- Wrench
Packing List
- Shocks – 2
- Fender Brackets (Large) – 2
- Hood Brackets (Small) – 2
- 3/4” Bolts – 2
- Washers – 4
- 3/4” Nuts – 2
- Screws – 4
Installing the Hydraulic Hood Props for Early Ford Bronco
1. Open the steel hood and support it.
Fender Bracket Install
2. Starting from the firewall, find the third fender bolt out and remove it.
3. In the kit, find the fender brackets (large). Position the fender bracket over the fender bolt hole. Place the fender bolt back in the bolt hole and hand tighten. Note: The fender brackets are sidespecific. Make sure the bracket angles toward the front of the Bronco and the ball joint is facing away from the fender as shown in Figure 1.

66-77 Early Ford Bronco Hydraulic Hood Prop – Figure 1
4. With the lower leg of the fender bracket held against the inner fender well, mark the center hole with center punch. Drill a hole through the fender well using the 5/16” bit, being careful not to damage any wiring.
5. Mount the lower leg of the bracket to the fender well using an included 3/4” bolt, washer and nut (You will need to reach behind the tire to hold the nut in place). Tighten both of the bolts that are holding the bracket in place.
6. Repeat steps 2-5 for the other fender.
Hood Bracket Install
7. In the kit, find the hood brackets (small). Position the hood bracket on the hood brace shown in Figure 3. The bracket should be approx. 1” from the edge of the hood with the ball stud facing out as shown in Figure 2.

66-77 Early Ford Bronco Hydraulic Hood Prop – Figure 2
8. Mark the center holes of the bracket with center punch.
9. Take the 1/8” drill bit and wrap masking tape around it approximately 1/8” from the tip and about 1/4” in diameter (this will prevent you from drilling into your hood). Drill out the center punched marks on the hood brace being careful to stop at the tape mark so not to drill into your hood. Then use the awl to enlarge the holes to about 3/16” using an awl. Take your time so you don’t damage your hood.
10. Mount the bracket to the hood using two of the screws included in this kit.
11. Repeat steps 7-10 for the hood bracket on the other side
Shock Installation
12. Snap the thick (reservoir) end of each shock to the ball joints on each of the hood brackets.
13. Holding the hood open by hand, lower the original hood prop to allow you room to lower the hood.
14. While supporting the hood by hand, take the opposite end of one of the shocks and snap it into the fender bracket. Repeat this on the other side.
15. Uninstall the original hood prop and bracket from the core support.
16. Close hood slowly to ensure proper installation.
For questions about installing the Hydraulic Hood Props on your early Ford Bronco, please call our Tech Line at (541) 779-1339.

Figure 3
More Ways To Get Help & Learn More

